1 (800) 983-2456Up to $1,250 back on attic insulation — no energy audit needed
Home  /  GALLERY

Project Gallery

Real jobs, our own camera, before and after.

Our own work, our own camera

Every photograph here is from a job we did.

None of it is stock. Nothing is staged. Some of it is badly lit, because an attic at the far end of a run is badly lit. We photograph at the hatch and across the floor on every job, before and after, because the rebate file needs it and because it is the only proof worth anything.

Drag across the picture

Same attic, same corner, same camera position. The handle moves between the two photographs.
The same attic after blown cellulose, level across the whole floorAfter
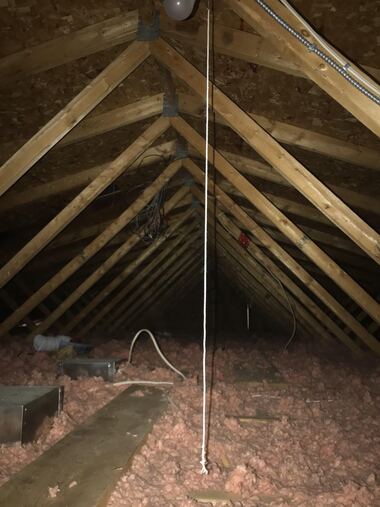
Attic floor with thin, uneven old insulation and wiring lying across the joistsBefore
Worn fill, then level to the eaves
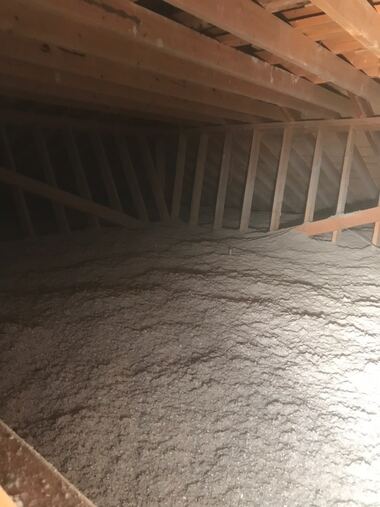
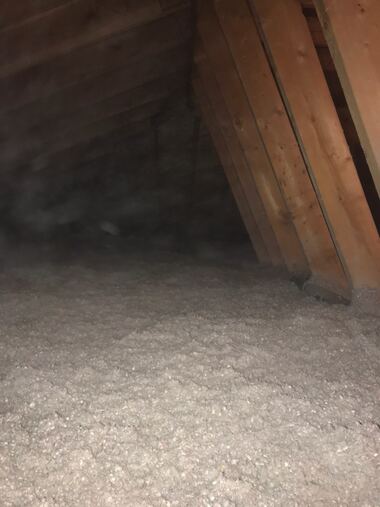
The same attic filled with deep loose celluloseAfter
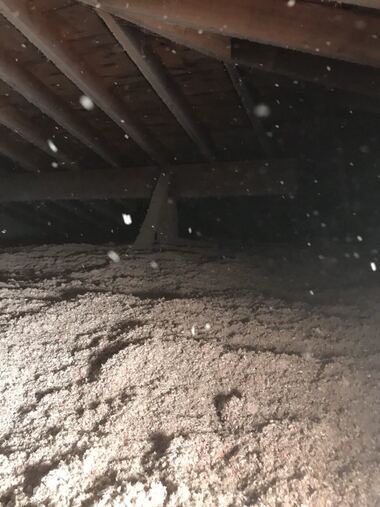
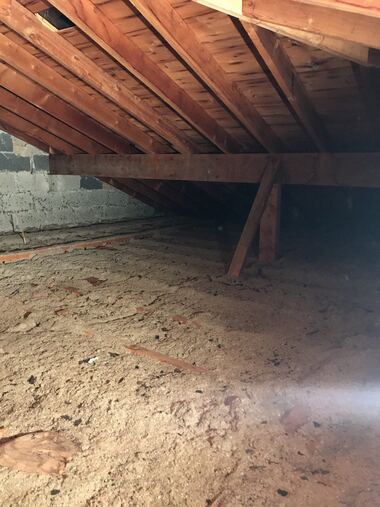
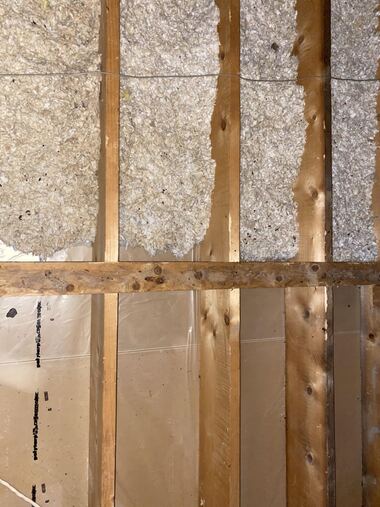
Attic with old settled insulation low between the joists beside a block wallBefore
Settled below the joists, then carried over them

Two views of one job

Here the camera moved between the two shots, so they sit side by side rather than in a slider. We would rather say that than pretend.
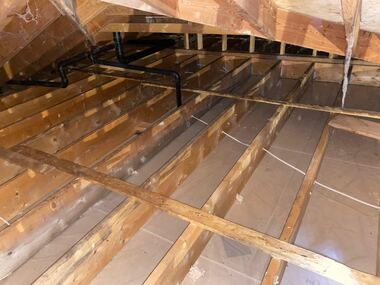
Attic stripped back to bare joists with the vapour barrier visibleBefore
The same attic refilled with cellulose to full depthAfter
Stripped to the joists, then refilled. Two views of the same attic, taken from different ends of the run.
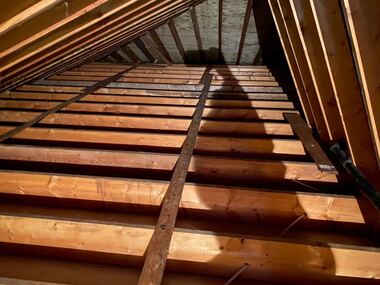
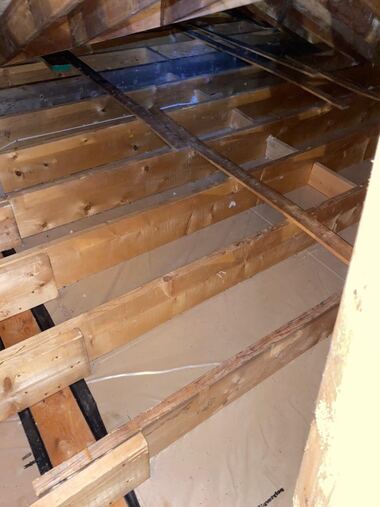
Bare attic joists with a walk board and cablingBefore
The same attic under an even layer of blown celluloseAfter
Bare joists, then an even floor. Again two positions, not one.
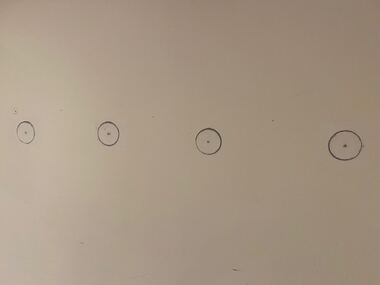
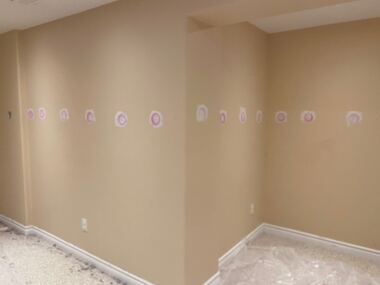
Interior wall with four small circles pencilled where the holes will be drilled
Walls, drill and fillStep one. Cavities found and marked from inside, one hole per bay.
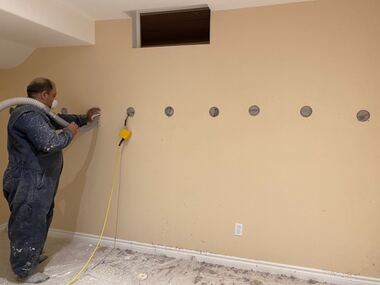
Technician injecting dense pack cellulose into a wall through a row of holes
Walls, drill and fillStep two. Dense pack cellulose goes in under pressure, bay by bay.
Finished wall with the drilled holes plugged, running around a corner
Walls, drill and fillStep three. Every hole plugged. No drywall taken down, no demolition.
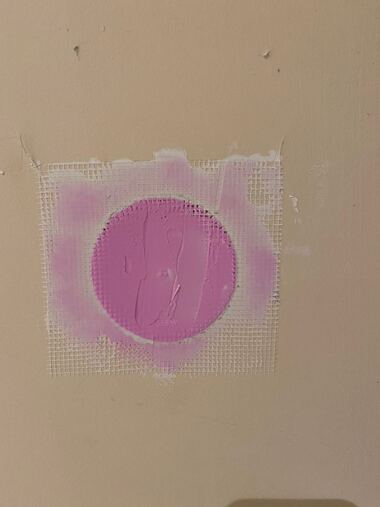
A single plug patched with mesh and filler, ready for sanding and paint
Walls, drill and fillStep four. Patched and taped flush, ready for the painter.
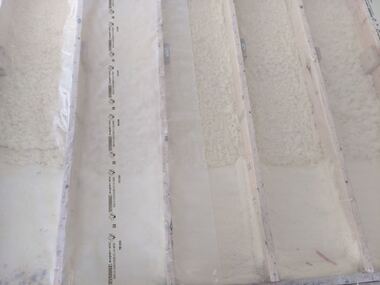
Open stud bays packed with cellulose held behind netting
Walls, drill and fillWhere a wall is open, the same material goes in behind netting before the board.
Wood fibre batts fitted between studs
Walls, drill and fillBatts where the build-up suits them better than blown material.
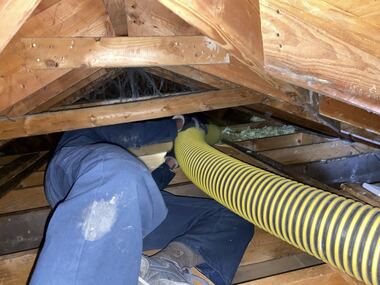
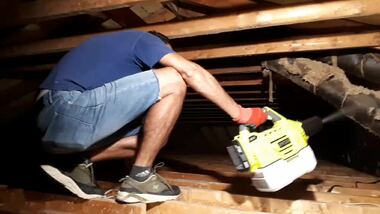
Technician lying between attic joists working a large vacuum hose
RemovalRemoval is done on your back, at the far end, with the hose run out to the truck.
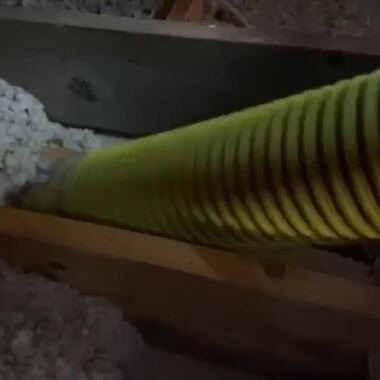
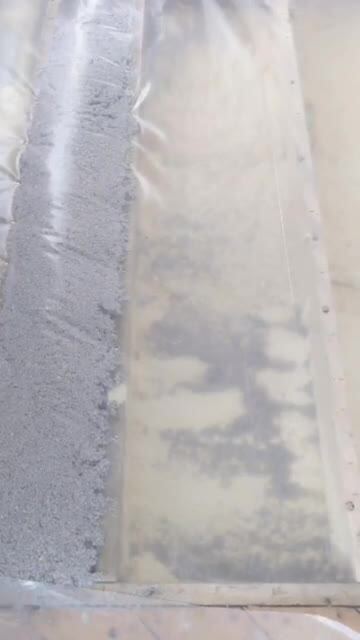
Vacuum hose drawing old grey insulation out from between the joists
RemovalOld material going up the hose. It leaves the house in sealed bags, not through your hallway.
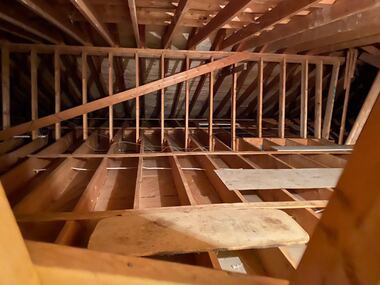
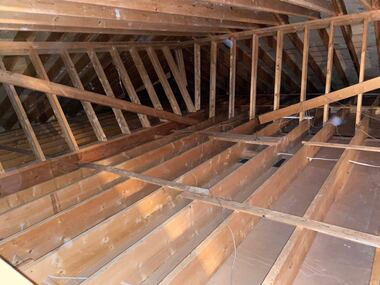
Attic trusses stripped clean with a walk board laid across the joists
RemovalA stripped attic with the walk board in. Everything is reachable before the new material goes down.
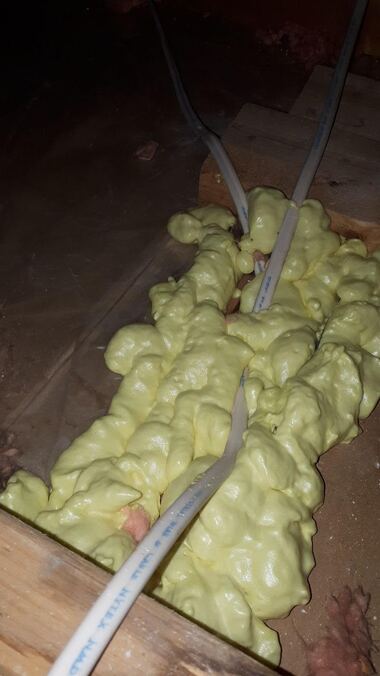
Two part spray foam sealing along the top plate of an attic wall
Air sealingFoam along the top plate. This is the gap that carries warm air up out of the rooms below.
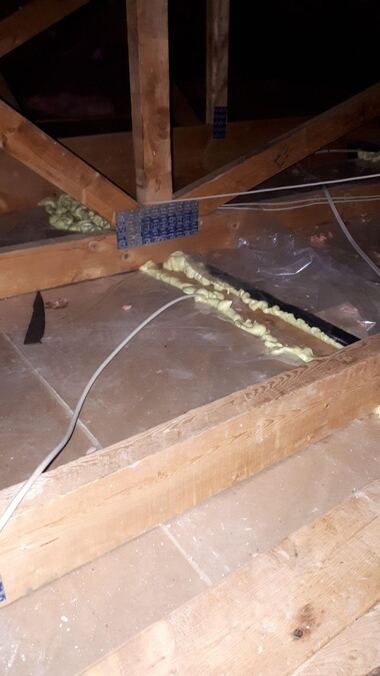
A bead of foam sealing a seam in the attic floor beside a junction box
Air sealingSmall gaps matter. A seam like this is sealed before it disappears under the fill.
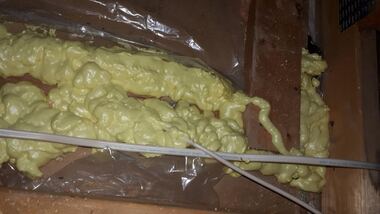
Spray foam sealing a run of penetrations under the attic vapour barrier
Air sealingSealing the penetrations before anything is covered over.
Attic floor with the vapour barrier laid and ductwork visible, ready for insulation
Air sealingBarrier laid, ducts clear, ready to blow.
Attic edge prepared so the eave vents stay open
Air sealingThe eaves are kept open on purpose. Blocking them is how attics get damp.
Dense pack cellulose being blown into a floor bay behind netting
Exposed floorAn exposed floor filled bay by bay behind netting, so the room above stops losing its heat downwards.
Technician applying mould treatment between attic rafters
Mould and pestsTreating the sheathing before anything new goes in. Covering mould does not fix it.
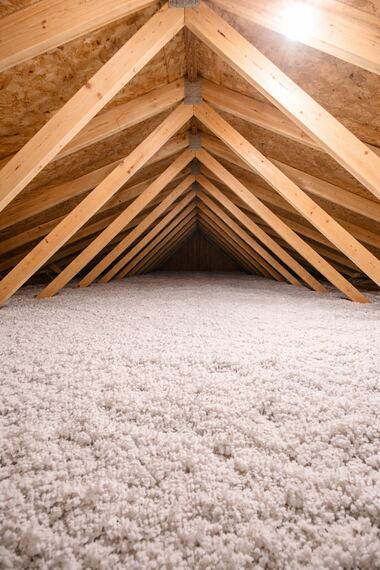
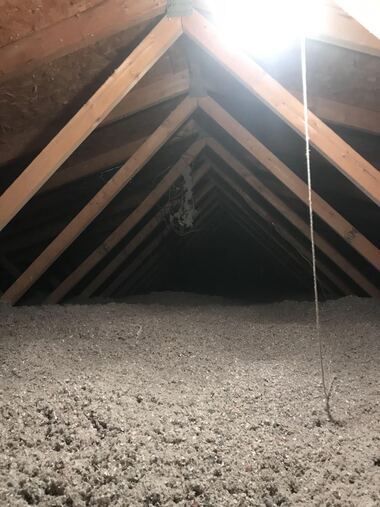
A finished attic under deep, even cellulose running to the eaves
Attic insulationWhat a finished attic should look like from the hatch.
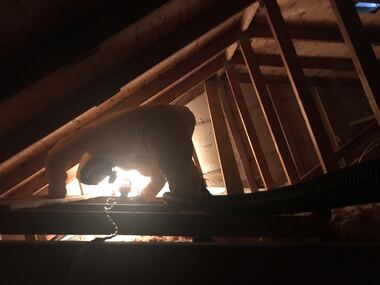
Attic interior lit by a single work light during an upgrade
Attic insulationMost of this work happens by headlamp, on your knees, at the far end of the run.
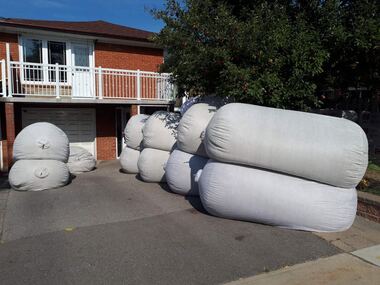
Bagged cellulose stacked in the driveway of a two storey house with an attached garage
On siteThe material arrives on the day. This is roughly what one house takes.

Photographs are from completed residential projects across the Greater Toronto Area and Southern Ontario. Nothing here has been retouched beyond resizing.

Related

Where to go next

Book an attic check

Someone goes up, measures, and photographs it.

You get the depth, the tier, the dollar figure and the photographs, whether or not you go ahead with us.